Learning how to whisk matcha well is the difference between a gritty, bitter cup and a smooth, jade-green bowl crowned with fine foam. I’ve stood behind a tea counter for years, and the question I hear most isn’t about which matcha to buy. It’s why a bowl turns out lumpy, flat, or sharp on the tongue. The good news: technique solves almost all of it. With a few minutes and the right motion, you’ll pull consistent results at home. Let me walk you through exactly what I teach new staff on their first morning shift.
Why whisking matters: foam, clumps, and bitterness
Matcha is stone-ground leaf, not an extract, so the powder stays suspended rather than dissolving. Whisking does three jobs at once. First, it breaks up clumps that form the moment fine powder meets water, which is what causes those bitter, undissolved pockets. Second, it aerates the tea, building the thin micro-foam (the crema of matcha) that carries aroma and softens the texture. Third, proper agitation distributes the powder evenly so every sip tastes balanced instead of harsh at the bottom of the bowl.
Skip the whisking or rush it, and the powder settles fast. You get a watery top layer, a sludgy base, and that astringent bite people wrongly blame on the matcha itself. Most “bad matcha” I’m handed is actually good matcha, badly mixed. That’s encouraging news, because it means your cup is well within your control.
What you need
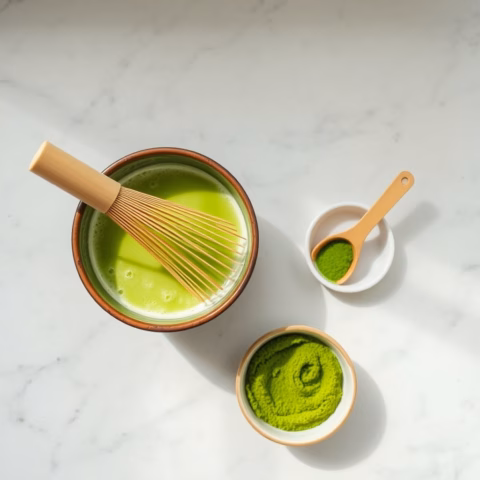
You don’t need a full ceremonial kit to start, but a few tools make a real difference. Gather these before you heat any water so you’re not scrambling mid-whisk:
- A bamboo whisk (chasen). The many fine tines are what create foam a spoon never will. Our bamboo matcha whisk (chasen) is the everyday workhorse I reach for.
- A fine sifter. A small mesh sifter like our stainless matcha sifter is the single best clump-prevention tool there is.
- A wide bowl. A flat, roomy bowl gives the whisk space to move. A narrow mug fights you.
- Good water, just off the boil. Around 160-175 degrees F. Boiling water scorches matcha and turns it bitter.
- 1-2 grams of matcha (a rounded half-teaspoon to a teaspoon) per bowl.
If you’re still choosing a whisk, our guide to the best matcha whisk breaks down tine counts and materials in plain language.
4 pro techniques for how to whisk matcha
These four steps are the heart of how to whisk matcha properly. Do them in order. Each one sets up the next, and together they take well under a minute once the motion is in your hands.
1. Sift first, always
Matcha clumps before it ever touches water because the powder is so fine it packs together in the tin. Sifting is non-negotiable in my shop. Spoon your matcha into a fine sifter held over the bowl and tap or brush it through. You’ll see the powder fall like soft dust. This one habit eliminates the majority of clumps before they can form, and it takes ten seconds. If you only adopt one tip here, make it this one.
2. The paste method: start with a splash of water
Don’t pour all your water in at once. Add just a small splash, about a teaspoon or two, to the sifted powder first. Whisk that into a smooth, thick paste with no dry pockets, working it against the side of the bowl. Hydrating the powder gradually is far more effective than trying to chase clumps around a full bowl of liquid. Once you have a glossy paste, add the rest of your hot water (about 2 ounces for usucha) and move on to the whisking motion.
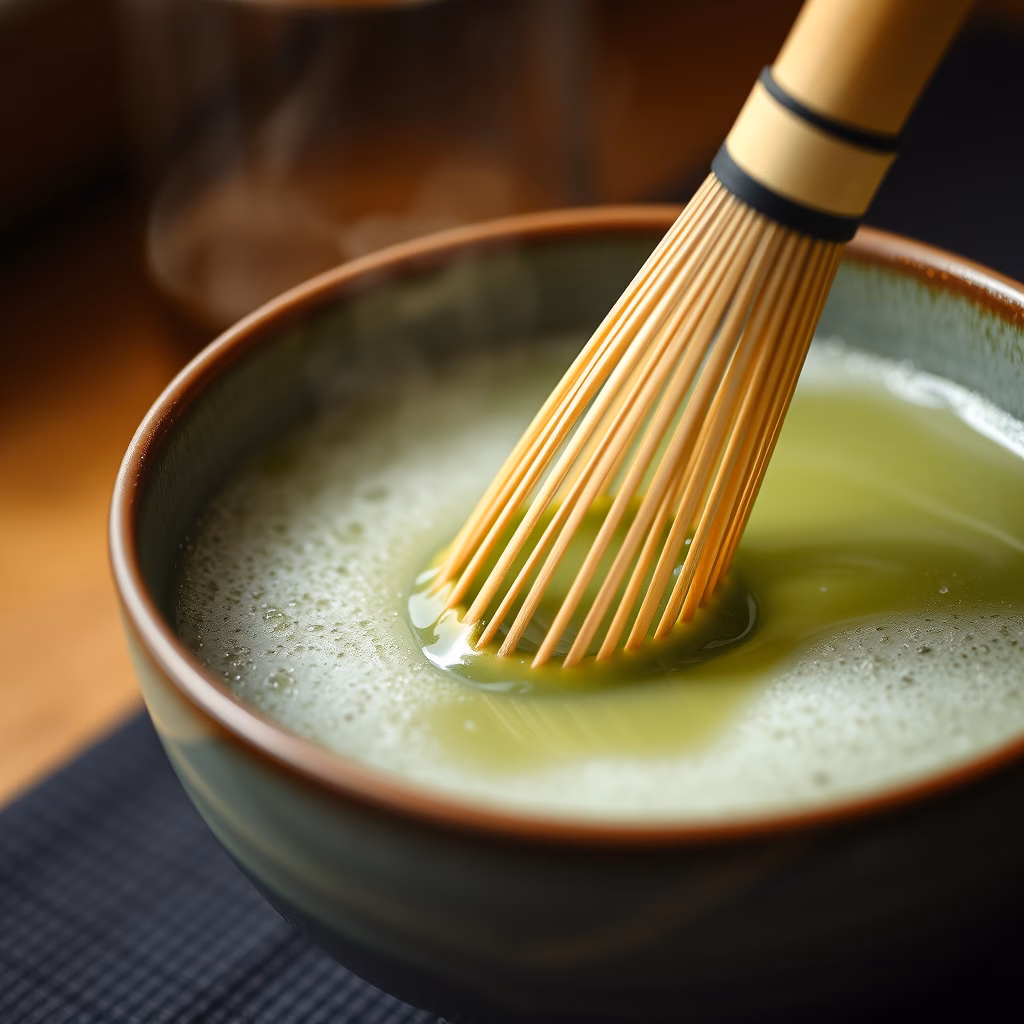
3. The W or M wrist motion, not circles
Here’s where most people go wrong. They stir in slow circles, which just swirls the tea without aerating it. Instead, whisk briskly in a straight back-and-forth line, tracing a “W” or “M” shape across the bowl. Keep your wrist loose and your forearm doing the work, not your shoulder. The whisk should skim near the surface, not scrape the bottom. Go fast for 15-20 seconds. You’re whipping air in, like beating a tiny bowl of eggs, and you’ll watch a layer of fine foam build.
4. Surface-skim to pop big bubbles and finish
When the foam looks thick and pale green, slow down. Large bubbles read as a sign of under-developed foam, so lift the whisk almost to the surface and make a few gentle figure-eights or slow passes across the top. This pops the big bubbles and leaves behind a fine, even microfoam. Lift the whisk straight up from the center to finish. Your bowl should look smooth and velvety, ready to drink right away before the powder begins to settle.
Using an electric frother as an alternative
No chasen yet, or making a latte on a busy morning? A handheld electric frother works as a stand-in, especially for milk-based drinks. The rules change slightly. Still sift first, and still make a paste with a splash of water. Then submerge the frother fully (tilt the bowl if needed) and run it in short bursts, moving it up and down. A frother builds bubbles fast but tends toward larger, soapier foam than a chasen’s delicate crema. For straight matcha sipped on its own, the bamboo whisk still wins on texture. For lattes, the frother is genuinely convenient.
Whisk care so your chasen lasts
A bamboo chasen is a consumable, but treat it well and it’ll serve you for months of daily use. The tines are delicate, so a little care goes a long way:
- Never use soap. Rinse the whisk in warm water right after use, swishing to release any clinging powder.
- Reshape it. If your set came with a ceramic whisk holder (kusenaoshi), rest the wet whisk on it tines-down so they dry in their curved shape.
- Air-dry fully. Stand it upright, tines up, in a ventilated spot away from a closed cupboard, so it dries completely and won’t mold.
- Soak briefly before first use. A 30-second dip in warm water before the very first whisk softens the tines and helps them spread.
Expect a few outer tines to break over time. That’s normal wear, not a defect, and the whisk keeps performing well long after.
Troubleshooting clumps and flat foam
Even with good technique, bowls go sideways sometimes. Here’s how I diagnose the two most common problems on the spot:
Persistent clumps. Almost always a sifting problem, or pouring in too much water before whisking. Go back to sifting every time, and commit to the paste step. If a clump survives, press it against the bowl wall with the whisk and work it loose before adding more water.
Flat or thin foam. Usually too few whisk strokes, too slow a motion, or stirring in circles instead of the W/M line. Speed up and keep the whisk near the surface. Water that’s too cool can also struggle to foam, while water that’s too hot scorches flavor, so aim for that 160-175 degree window. A worn-down whisk with too few tines left will also give weaker foam.
Frequently asked questions
Can I whisk matcha without a bamboo whisk?
Yes. An electric frother or a small handheld milk frother is the best substitute, and a tightly sealed jar shaken hard works in a pinch. A spoon alone won’t aerate the tea, so expect weaker foam. For the smoothest texture, a chasen is still the tool worth owning.
How long should I whisk matcha?
About 15 to 30 seconds total once your paste is ready. You’re whisking until a layer of fine foam forms across the surface, then slowing to smooth it. It’s quick. Over-whisking won’t ruin the tea, but the foam can deflate if the bowl sits too long, so drink it fresh.
Why is my matcha bitter even after whisking?
Bitterness usually comes from water that’s too hot, too much powder, or lower-grade culinary matcha used for straight drinking. Use water around 160-175 degrees F, start with about a gram, and choose a ceremonial-grade matcha for sipping. Good whisking helps, but it can’t fully fix scorched or low-quality tea.
Do I need to sift matcha every single time?
In my experience, yes, if you want a reliably clump-free bowl. It adds ten seconds and removes the most common cause of lumps. The traditional bamboo whisk (chasen) handles small inconsistencies, but it can’t undo powder that clumped in the tin.
Pulling it all together
Now that you know how to whisk matcha the way a tea shop does, the routine is simple: sift, paste, whisk in a brisk W, then skim the surface smooth. Master those four moves and clumps and flat foam stop being mysteries. If you’d like the full ritual from measuring to pouring, see our step-by-step guide on how to make matcha. Pour gently over the back of a spoon to protect that foam you worked for, and enjoy a bowl that finally tastes the way good matcha should: sweet, smooth, and bright.